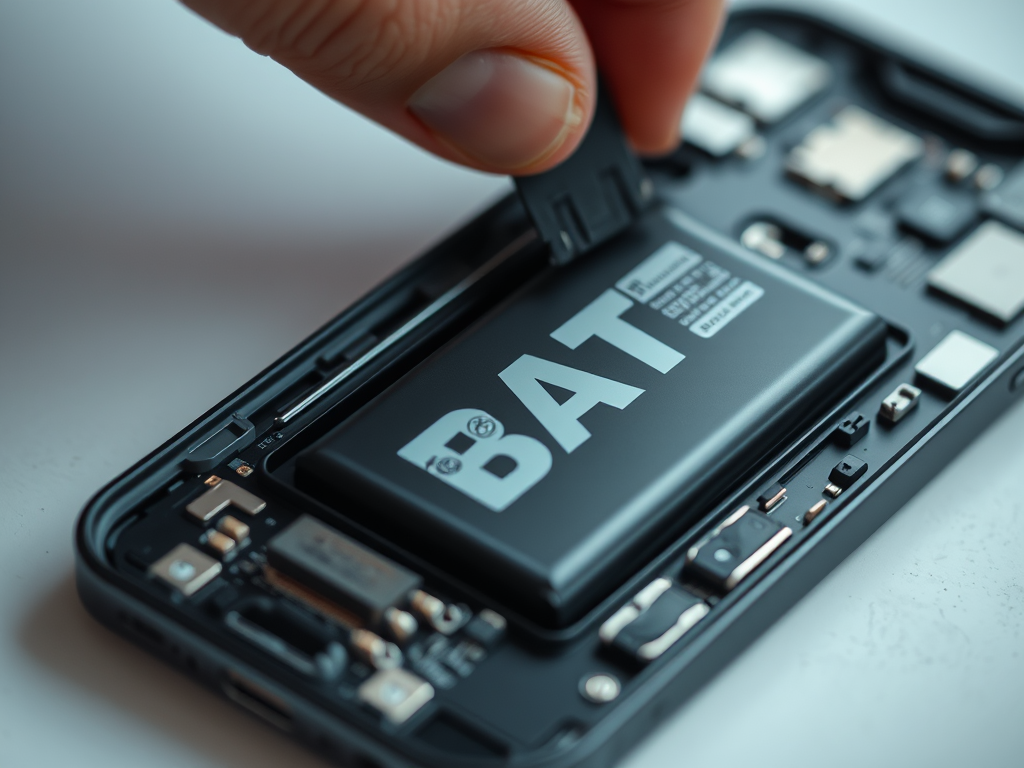
The batteries in our smartphones are akin to the beating hearts of these devices, powering us through countless tasks, conversations, and moments. When battery life begins to fade, many users face a crucial decision: Should you replace it yourself, or entrust this task to a professional? While many may feel intimidated by the prospect of opening their device, a growing number of tech-savvy individuals are turning to DIY battery replacements. This guide is designed to help you navigate the process confidently, so you can give your phone a new lease on life.
It’s essential to know that undertaking a battery replacement can save you both time and money. However, it’s not without potential pitfalls. By arming yourself with the right knowledge, tools, and a step-by-step approach, you can complete the task efficiently. Let’s dive into what you need to know before embarking on this journey, from understanding battery types to preparing for the replacement. We’ll walk through the process clearly, ensuring you’re well-prepared at every stage.
Understanding Your Phone’s Battery

Smartphone batteries come in various shapes and sizes but predominantly fall into two categories: Lithium-ion (Li-ion) and Lithium Polymer (Li-Po). Each type has unique characteristics that affect how they perform and degrade over time. Understanding these differences can significantly help you determine the right replacement battery for your device. For example, Li-ion batteries are generally easier to find and more common in older models, while Li-Po batteries offer more flexible designs and may be found in sleeker smartphones.
Knowing when to replace your battery is equally important. Here are some common signs to watch for:
- Rapid battery drainage: If your phone’s battery life has plummeted dramatically in a short time, it may be time for a new one.
- Overheating: Consistent heating during charging can indicate a battery failure.
- Physical deformities: Bulging or swelling of the battery case may signal danger and requires immediate attention.
Tools and Materials Needed

Before beginning your DIY journey, gathering the right tools is crucial. Here’s a list of essential tools you’ll need:
- Precision screwdriver set
- Plastic opening tools
- Tweezers
- Safety glasses
You’ll also require the following materials for the replacement:
- Replacement battery (ensure compatibility with your phone model)
- Adhesive strips or double-sided tape
- Customer service manuals or repair guides if necessary
| Type of Battery | Characteristics | Typical Lifespan |
|---|---|---|
| Li-ion | Lightweight, commonly used | 2-3 years |
| Li-Po | Flexible, more expensive | 2-3 years |
Preparing for the Replacement
Preparation is key when it comes to replacing your phone battery. Start by backing up all your data to avoid losing important files during the process. Most smartphones allow you to back up data easily through cloud services or on your computer. Once your data is secure, make sure to power down your device completely before disassembly. This step is crucial as it minimizes the chance of electrical damage while you’re working inside the phone.
It’s also a good idea to remove the SIM card and other external components, as this will give you easier access to the device internals. Preparing your workspace can help the process too; ensure you have ample light and a clean, organized area to set down your phone and tools. Taking time with preparation will help you work more efficiently and confidently.
Step-by-Step Battery Replacement Guide
Step 1: Disassembling the Phone
When you’re ready to begin, the first step is to open your phone case carefully. Depending on your model, you may need to remove screws from the back of the phone, or it may come off with a gentle pry. Keep a magnetic tray handy to collect screws and components, ensuring everything is organized and easy to find later. Many users find instructional videos helpful for visual guidance—these can present the whole process step by step.
Step 2: Disconnecting the Old Battery
Next, locate the battery connector inside your phone. It’s typically a small, flat connector you can easily access. Once found, gently pry it loose with your plastic tool, being careful to avoid damaging any surrounding components. Always exercise caution here; working too aggressively can lead to irreversible damage.
Step 3: Removing the Old Battery
The old battery might be secured in place by adhesive. Slowly work a plastic opener along the edges to separate it without damaging the device. Patience is key; rushing through this stage can lead to accidents, and you might inadvertently damage other parts of your phone. If it proves too stubborn, a little heat from a hairdryer can sometimes ease the adhesive.
Step 4: Installing the New Battery
Once the old battery is out, place the new battery into the compartment. Ensure it sits snugly against its casing and line its connector up with the motherboard. A proper fit is vital for the battery to perform optimally. When securely in place, reconnect the battery connector just as you did with the old one, ensuring everything clicks into position without force.
Step 5: Reassembling the Phone
After the new battery is in position, it’s time to close your phone up. Reattach the back cover, ensuring that everything is aligned correctly. It’s a good moment to double-check that all internal components are secure before sealing it back up. Once everything is finally in place, power on the device and verify that it operates smoothly and that the new battery is recognized.
Conclusion
Replacing a phone battery can seem daunting at first, but with the right tools and confidence, it becomes a manageable task. If you’ve followed the steps outlined above, you should now have a functional phone with a brand new battery. Just remember that if any part of the process feels overwhelming, seeking professional help is always a prudent choice. Lastly, take a moment to recycle your old battery through proper channels to contribute positively towards environmental sustainability.
Frequently Asked Questions
- Can I replace my phone battery if it’s under warranty? No, replacing the battery yourself may void the warranty. Always check warranty terms.
- How long does the battery replacement process take? The process can take anywhere from 30 minutes to 2 hours, depending on your phone model.
- What should I do with the old battery? Never throw it in the trash; recycle it at a designated facility or return it to retailers that accept used batteries.
- Will replacing my battery improve my phone’s performance? Yes, a new battery can enhance your phone’s performance, especially if the old battery was significantly degraded.
- Are there risks associated with replacing the battery myself? Yes, risks include damaging the phone’s internal components or voiding the warranty. Proceed with caution.


