For anyone dabbling in DIY electrical projects or needing to troubleshoot household appliances, knowing how to use a digital multimeter is a fundamental skill. These versatile tools can accurately measure voltage, resistance, and current, making them indispensable in the world of electronics. In comparison to their analog counterparts, digital multimeters provide a more precise reading and are generally easier to use. This article will guide you through using a digital multimeter to check for power, a fundamental function of these devices. Prioritize safety and accuracy, and you’ll soon find measuring electrical parameters to be a straightforward task.
Understanding Your Digital Multimeter
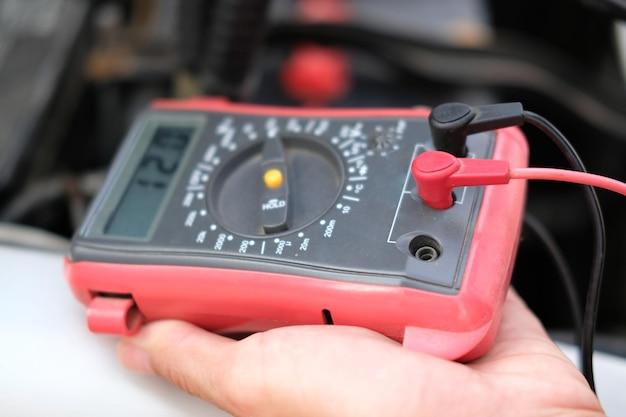
Before you begin probing into the heart of electrical circuits, it’s crucial to be familiar with your digital multimeter. These devices come with a variety of settings that are essential for measuring ac voltages, dc voltages, and currents. Your digital multimeter might also have the capability to perform continuity tests, which could be invaluable when checking circuit integrity. To start using your multimeter, first select the appropriate function and range for the measurement you intend to take. This essential step will ensure your readings are accurate and that your device does not become damaged.

Preparing to Use Your Digital Multimeter
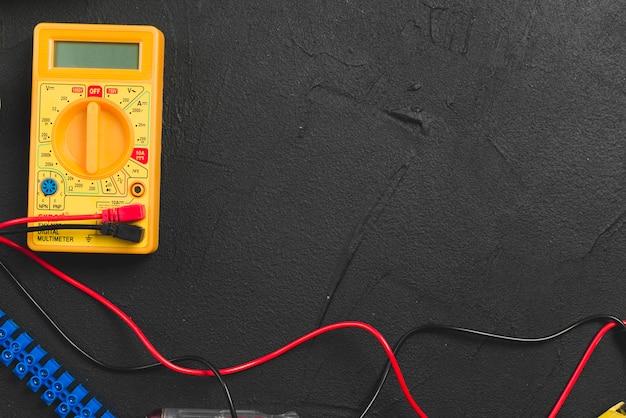
Before grabbing your multimeter and diving into electrical diagnostics, a few safety precautions are in order. Ensure that your digital multimeter is rated for the electrical loads you plan to measure and that it’s in proper working order. Probing electrical circuits should not be taken lightly; always wear protective gear, such as gloves and goggles, and work in a well-lit area. Next, correctly identify the probes; usually, one is red for the positive lead, and the other is black for the common or ground lead. These initial steps will set the foundation for a safe and successful power-checking experience.
Step-by-Step Guide to Checking for Power Using a Digital Multimeter
Before measuring anything, ensure your digital multimeter is correctly set up. If you’re checking household sockets, you’ll want to measure AC voltage, while for batteries, DC voltage is your target. The range you select on your multimeter should exceed the expected voltage you’re measuring to avoid potential overload. For example, if you’re testing a standard 120V AC outlet, set your multimeter to the next highest AC voltage setting. Once your multimeter is set, you’re almost ready to test for power.
Testing Electrical Outlets
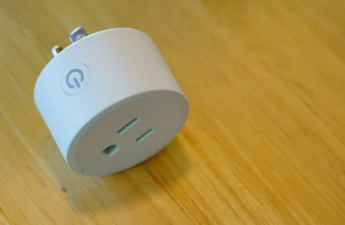
When you’re dealing with measuring ac voltages, your digital multimeter is the right tool for the job. For testing electrical outlets, insert the probes into the outlet—red to the hot side and black to the neutral. A proper reading on your multimeter will indicate that power is indeed present. Be especially cautious; the potential for shock is significant if you’re careless. Observe all safety protocols and ensure no part of your body comes into contact with the live circuit.
Checking Battery Power
Batteries maintain dc voltages, and your digital multimeter could help you determine whether they’re charged. For a 1.5V AA battery, for instance, set your multimeter to the closest DC voltage setting above 1.5V. Touch the positive probe to the positive terminal and the negative to the negative. A reading close to or slightly above 1.5V means your battery is good, while a significantly lower reading signals that it’s time for a replacement.
Measuring Power in Electrical Circuits
Checking the power within electrical circuits involves measuring various parameters. Digital multimeters facilitate these current measurements with settings that allow for selecting either AC or DC depending on the circuit. To perform these tests correctly, you’ll need to understand how to insert your multimeter into the circuit (series for current and parallel for voltage). Below is a simple table to help you understand where to set your multimeter for different tests:
| Measurement Type | Setting on Multimeter | Note |
|---|---|---|
| AC Voltage | V~ or ACV | Suitable for household outlets |
| DC Voltage | V- or DCV | Common for battery testing |
| Continuity | Ω or the continuity symbol | Checks for breaks in circuits |
| AC Current | A~ or ACA | For devices connected to mains |
| DC Current | A- or DCA | Used in automotive and battery circuits |
Troubleshooting Common Multimeter Issues
Even an experienced technician could encounter difficulties when using multimeters. A common issue is getting an “OL” or overload reading, which suggests that the voltage is too high for the chosen range. In this case, you must increase the range on your multimeter. If you’re conducting continuity tests and there’s no beep or the display doesn’t change, the circuit might have a break, or the test leads may not be connected properly. Always double-check connections and settings, and consult the user manual for troubleshooting guidance tailored to your model.
Conclusion
In the realm of electrical work, having a reliable digital multimeter is crucial for ensuring the safe operation and functionality of various devices. With the detailed guidance provided, you’re well-equipped to tackle checking for power with confidence. While analog multimeters were once the standard, digital variants have risen to prominence, offering ease of use and a high degree of precision. Engage in regular practice, maintain a robust awareness of the proper safety measures, and your electrical measuring endeavors will be successful and secure.
FAQs
Q1: What is the difference between AC and DC settings on a digital multimeter?
A1: AC (Alternating Current) settings are used for measuring power in standard household outlets and appliances, while DC (Direct Current) settings are for measuring power in batteries and automotive applications.
Q2: How can I tell if my digital multimeter is giving me an accurate reading?
A2: Make sure your multimeter is properly calibrated, the probes are connected securely, and you are using the correct settings for the power you’re measuring. If in doubt, test a known power source for comparison.
Q3: Can a digital multimeter be used to check for power in high-voltage environments?
A3: Some digital multimeters are designed to handle high-voltage measurements, but it’s essential to ensure you have the proper model and training to perform such tests safely.
Q4: Why does my multimeter read “OL” when I try to check an electrical outlet?
A4: “OL” typically stands for “overload” or “open loop.” It means that the voltage is too high for the selected range, or there’s no continuity in the circuit being tested. Adjust the range setting or check the circuit’s continuity.
Q5: Is it safe to use a digital multimeter on a device that’s still plugged in or turned on?
A5: It can be safe if the multimeter and user are adequately prepared for live testing and all safety precautions are followed. However, if you’re inexperienced, it’s always safer to test with the power off and the device unplugged where possible.